Difference between revisions of "Lego structure"
From ATI public wiki
(Created page with "Based on the task specifications a lego model has been built for this lab. Figures 3 to 9 show different parts of the lego model. [[File:IMG_0031.JPG|350px|thumb|left|alt=A...") |
|||
| Line 1: | Line 1: | ||
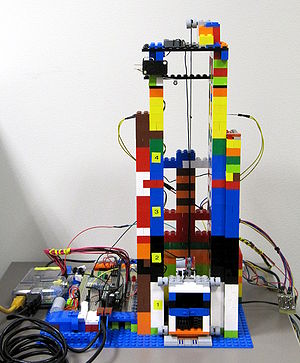
Based on the task specifications a lego model has been built for this lab. Figures 3 to 9 show different parts of the lego | Based on the task specifications a lego model has been built for this lab. Figures 3 to 9 show different parts of the lego | ||
model. | model. | ||
| − | [[File:IMG_0031.JPG| | + | [[File:IMG_0031.JPG|300px|thumb|right|alt=Alt text|Fig. 3: Lego structure]] |
{|style="margin: 0 auto;" | {|style="margin: 0 auto;" | ||
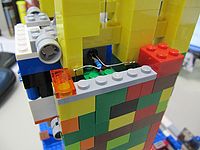
| − | | [[File:IMG_3145.JPG| | + | | [[File:IMG_3145.JPG|200px|thumb|center|alt=Alt text|Fig. 4: Sensor setup on the lego structure]] |
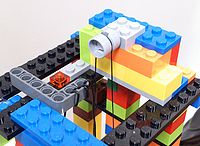
| − | | [[File:DSC_0853.jpg| | + | | [[File:DSC_0853.jpg|200px|thumb|center|alt=Alt text|Fig. 5: Thread setup 1]] |
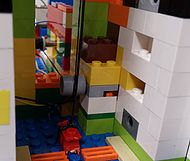
| − | |[[File:DSC_0855.jpg| | + | |[[File:DSC_0855.jpg|190px|thumb|center|alt=Alt text|Fig. 6: Thread setup 2]] |
|} | |} | ||
{|style="margin: 0 auto;" | {|style="margin: 0 auto;" | ||
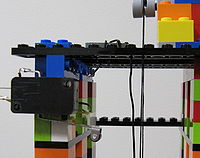
| − | | [[File:IMG_0025.JPG| | + | | [[File:IMG_0025.JPG|200px|thumb|center|alt=Alt text|Fig. 7: Emergency break setup]] |
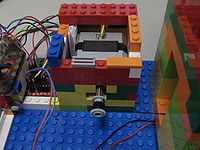
| − | |[[File:IMG_3144.JPG| | + | |[[File:IMG_3144.JPG|200px|thumb|center|alt=Alt text|Fig. 8: Stepper motor setup in lego model]] |
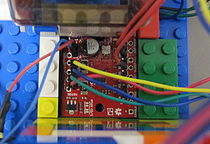
| − | | [[File:IMG_0028.JPG| | + | | [[File:IMG_0028.JPG|210px|thumb|center|alt=Alt text|Fig. 9: Motor driver board]] |
|} | |} | ||
Revision as of 23:00, 5 May 2015
Based on the task specifications a lego model has been built for this lab. Figures 3 to 9 show different parts of the lego model.
